Cloud web version
step 1
Get started with the cloud sync by clicking 
and selecting 
step 2
Add your Exchange Email credentials
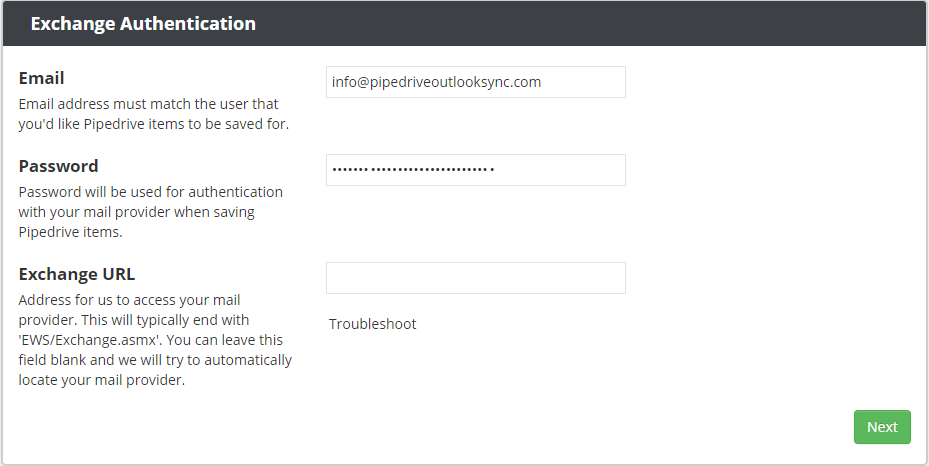
Leave the Exchange URL blank for Office 365 and Exchange online as Auto Discovery will work this out. If you have your own Exchange, contact your Exchange Administrator for the URL. On successfull logon the fields will turn green to indicate your Exchange email has been authenticated.
step 3
Set the friendly name of the Synchronization and enter your Pipedrive API Token
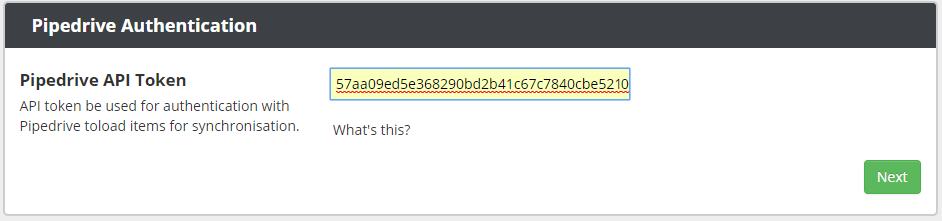
Your Pipedrive API token can be found in your Pipedrive Account Setting.
Click here to see how to find your Pipedrive API Token.step 4
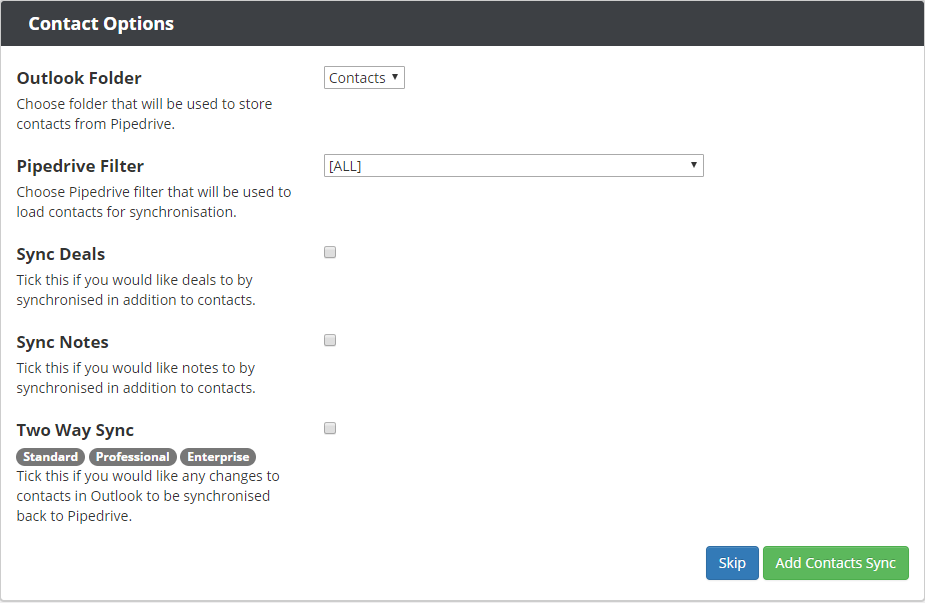
Configure how you want to synchronize Contacts. Select the Pipedrive Filter to select the relevant contacts and select the Exchange folder to place the contacts. Once you've selected the contacts decide which information you want to synchronize.
step 5
Configure how you want to synchronize Activies. Select the Pipedrive Filter to select the relevant activies and select the Exchange folder to place the activies.
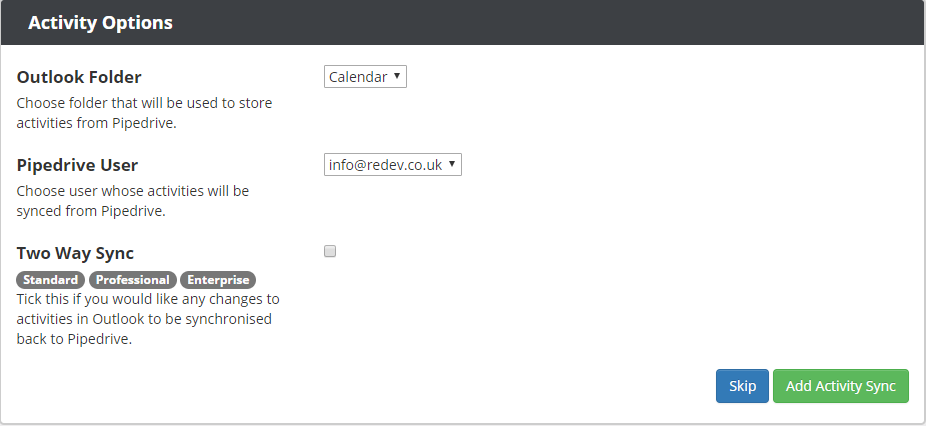

step 6
Configure your Sync Interval and other general setting.
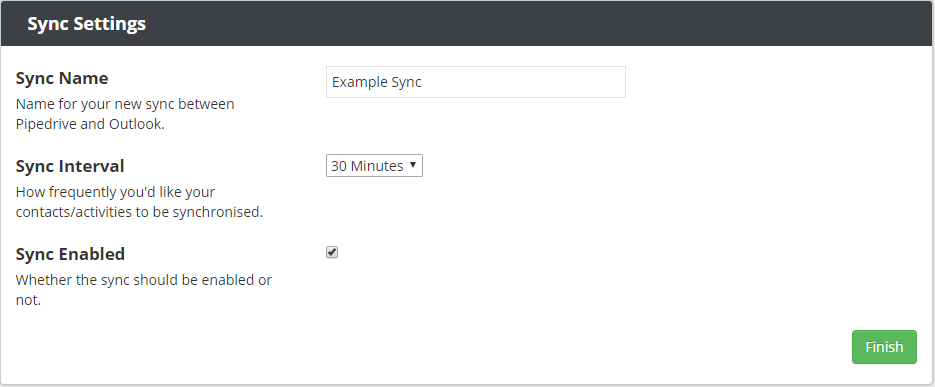
step 7
Once you have completed your Configuration click save to add the sync. 
step 8
Once you've successfully added a synchronization you'll see a new dashboard entry.
